
By Bob Pletka 06/24/11
The studio was the last section of the building to be finished. As I alluded to in the first post on the building this was a real learning
experience! I wanted the studio section to be as soundproof as possible, so I began reading everything I could find on the subject. After
endless research on soundproofing, and sifting thru tons of conflicting information and reports from manufacturers and “soundproofing
guru’s” I was hoping to get a minimum of 40db of reduction and really wanted to see 50db. I read about sheetrock versus Quiet rock and
Mass Loaded Vinyl, insulation types and air gaps, Green glue versus Quiet glue, isolation clips, staggered stud walls and steel channel
walls and on and on… It was enough to make me crazier! So if you’re faced with a soundproofing challenge, or just interested, read on.
You may want to grab a sandwich and a beer, it’s a long story!
I initially thought that the SIP’s panel construction (Structural Insulated Panels, photos on the “Eurotubes makes a move” page) we
decided to use to construct the building would aid in keeping sound both in, and out, however the contrary is true! While SIP’s
construction is extremely tight and energy efficient, the rigid foam in the panels also transmits vibrations very efficiently, a bit like a drum
head.
The studio area started out as a twenty four by twenty four foot room with a concrete floor and a single angle “shed style” open truss
ceiling. This left the tall wall side of the room at a little over thirteen feet tall and the short side at nine and a half feet tall.
The echo in the room with the wood sheeted walls and concrete floor was severe! We rolled a Bogner Alchemist into the room and
cranked it just for reference. Eddie was playing while I walked around the outside of the building. It was almost just as loud outside as it
was inside, there was only a couple of decibels difference! Not good…
It was time to go to work! The first step was hanging resilient channel to space the first layer of 5/8” sheetrock away from the wood and
concrete walls. This helps stop the transfer of vibrations.
After the first layer of rock was on all four walls it was time to address the HVAC for the room. We had one eight inch heat and AC duct
entering the room thru the ceiling trusses and we split this off into two six inch ducts which we connected up to two thirty foot lengths of
insulated flexible six inch duct and then we weaved them around thru the trusses like snakes to exit at opposite sides of the ceiling. The
turns and curves cut way down on how much sound can get thru the ductwork and this worked very well. Since the room is extremely
tight we also added a third duct to relieve the pressure and vent it out into the main office using the same flexible duct.
I read forever about “Quiet rock” but decided that $60.00 for a four by eight foot sheet was simply too much money compared to $8.00 for
a four by ten foot sheet of standard rock… I also read endlessly about “Green Glue” which goes between layers of sheetrock to stop the
transmission of vibrations. This stuff is EXPENSIVE! I really didn’t want to spend $3000.00 on green glue… After many more hours of
investigation I found out about Quite Glue. By all accounts it seemed that the original quiet glue was not as good as the green glue,
however the quiet glue people had just come out with a new product called “Quiet Glue Pro”.
There were only a few references to this new product but they were very positive and the testing that was done by independent labs
showed it was supposed to be just as good or better. I called the quiet glue people and got a real person on the phone! After calculating
how much I needed it was on the way. It ran right at half the cost ($1500.00) that the green glue would have cost me. That’s still a lot of
money on glue! I’m an optimist, but I admit I was somewhat skeptical, all the while hoping for a good result.
The Quiet Glue Pro arrived and it’s not green, it’s pink! This is some strange stuff and sticky like nothing I’ve seen before, I call it
“ectoplasm”. It’s just nasty when you get it all over you or your tools… We were using ten and twelve foot sheets of rock so we used
three big tubes of pink “ectoplasm” on each sheet. If you have ever hung ten foot sheets of rock overhead then you know how much this
sucks… The cool thing about using the glue is once you push a sheet up on the ceiling it actually stays there by itself allowing both
hands free for screwing it in place!
So for the ceiling, resilient channel was attached to the bottom of the trusses every six inches which is really overkill but I wanted to
make sure the ceiling didn’t come down! After the channel we hung ½” acoustic sound board followed by a layer of 5/8” sheetrock, then
sound glue and ½” rock.
I decided to start next on the walls and come back to the ceiling with a third layer of rock if it was necessary. I figured the 14” air gap in
the ceiling would help quite a bit.
I went back and forth a thousand times trying to decide if I should go to the trouble of building an air gap into the walls versus adding
even more layers of sheetrock. I finally decided to go with the air gap which is supposed to be better for stopping low frequencies. After
researching all the methods including staggered stud wood construction, steel stud construction and Isolation clips, I decided on using
the RISC Isolation clips, hat channel and steel studs.
You can see the assembly picture “Studio-02” above. The Iso clips attach with one long screw. We used the largest screws possible and
went thru the first layer of sheetrock avoiding the resilient channel. We just put enough tension on the screw to keep the Iso clips from
rotating, but not enough to pull the sheetrock against the wall which would create a “short”, causing vibrations to travel thru the wall.
Since the next layers of sheetrock were essentially creating curtain walls that are not load bearing and simply need to stay in place, we
installed the clips 30” apart and only used two rows, one row a foot and a half up from the floor and one row about a foot and a half down
from the ceiling. The fewer places that the curtain walls make contact with the original walls, the better.
After the Iso clips were installed we clipped in the “Hat Channel”. Then using sheet metal screws we attached 1 ½” “Steel Stud Channel”
to the Hat Channel every 24”, this way we could screw the next layer of sheetrock in on both ends and in the middle. This might not seem
like much support for a wall but not much was really needed to hold vertical sheetrock in place. The walls are super solid.
The clips, Hat channel and Steel studs left us with a 3 ¼” air gap which we then filled with 3” Roxul AFB Rockwool which is an Acoustical
Fire Batt insulation specially made to inhibit the transmission of sound waves and retard fire.
The next step was to attach the first 5/8” layer of sheetrock to the steel studs to start forming the curtain wall. I decided to squirt a bead of
the “pink ectoplasm” sound glue on the outside flange of the steel studs before screwing the rock on. Since we were using ten foot, and
some twelve foot lengths of rock there were only vertical seams and we used acoustical sealant on the edges and to also seal each layer
to the ceiling. We used some thick orange rubber carpet pad under the edges of the sheetrock to isolate it from the concrete floor.
We used ½” thick sheetrock for the second layer because in all the research I did alternating the thickness of the rock was recommended
because their resonant frequency is different. This sounded logical to me, so more “ectoplasm” and ½” rock went on all the walls. The
sound glue really does make a huge difference. For a test we temporarily attached one sheet to another without the glue and then
knocked on it like you would knock on a door. Without the glue the wall rang a bit like a big gong, but with the glue it was like knocking on
thick concrete, no ring, just a solid thud that was completely dead sounding.
Finally the last layer of sound glue and 5/8” rock was attached and everything was sealed up tight and the mud and tape was applied. This
left us with resilient channel, four layers of sheetrock, Iso clips, Hat Channel, Steel Studs and Rockwool insulation! This was it! I decided
that if this was not enough to keep things quiet outside, and block noise from getting in, too bad…
After the mud was dry and sanded out the echo in the room was so severe that two people could not carry on a conversation if you were
more than two feet apart! I couldn’t wait any longer so even with the echo we wheeled an amp in and cranked it, it was like playing in a
huge hall. But outside the building we were down 45db!! This was great news, it takes the sound glue (ectoplasm) a while to cure so I was
hoping for even more of a decibel drop.
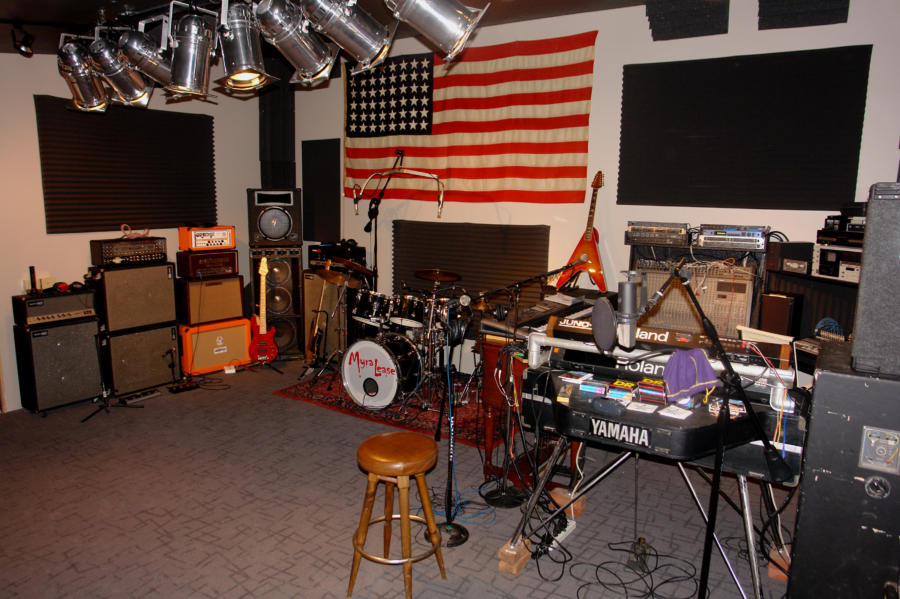
A few days later the carpet arrived along with the thickest orange rubber pad we could get. After the install about 90% of the echo was
gone! I started hanging lights and finishing the wiring. I used four inch long screws to go up thru all the rock and attach directly to the
bottom of the trusses, to which I attached muffler hangers to hang lighting poles. The muffler hangers use rubber to isolate the clamp
section from the mounting bracket so I figured this would help stop vibrations from traveling out thru the ceiling.
I would be remiss if I didn’t mention the importance of a really good sealing studio door or “doors” in our case. I used two 1 ¾” solid core
mahogany doors with full weather seals on them and a seven inch air gap between them. The door on the studio side was first covered
with sound glue and a layer of 5/8” sheetrock, followed by more sound glue and another layer of 5/8” rock. It makes for a heavy door but it
really blocks out the sound.
The outside door leading into the studio just looked bare and definitely in need of something. My Father was a collector of many things
along with being a musician, an inventor, a machinist, a photographer, an electrician, a welder and a fabricator to name a few of his
talents. I was also a Tool & Die machinist and mold maker for many years, and after my Fathers passing I saved a lot of the things he had
collected over the years and now it was time to use some of those items. I have always been a fan of Jules Verne creations so that was
the theme.
The door is clad in Steel, Brass and Copper, and yes I clearanced all the gears so all the sets rotate together. My guess is that it weighs
about four hundred pounds and does help to block out sound! Oh yes, I get questioned a lot on the goggles, these are from the 1930’s
and they are the goggles I wore when my Father taught me to use an acetylene welding rig decades ago.
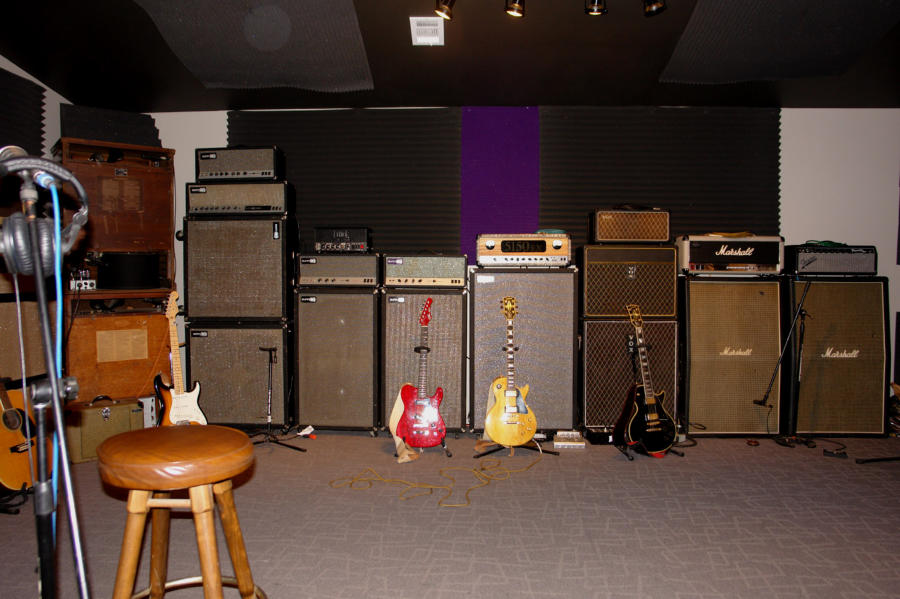
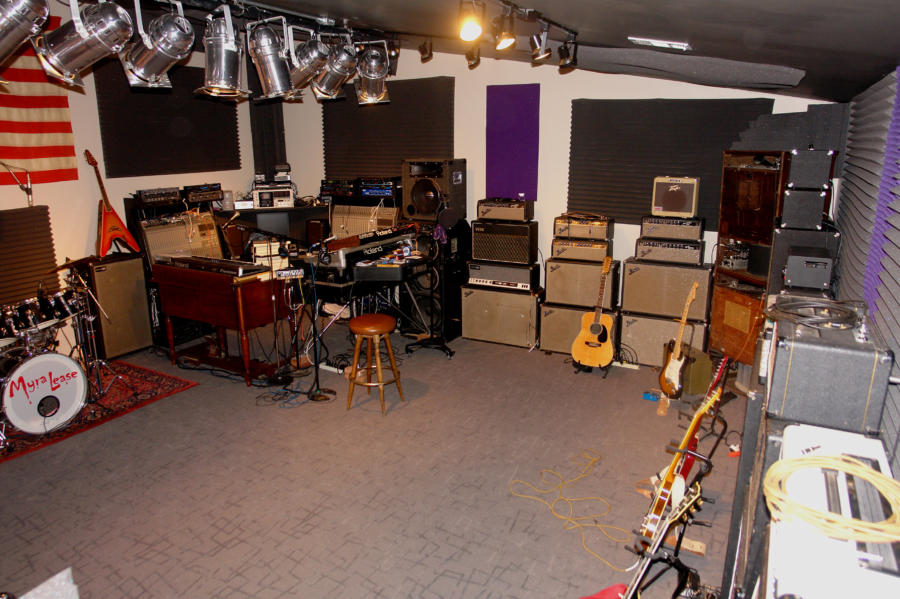
The last thing left to do before moving in was to build some much needed new racks for all the gear. When they were completed I had the
local Line-X shop squirt them with Bed liner which actually worked out very well. After a week of wiring the recording gear up it was time
to move ALL the gear in! Once everything was set into place and connected up we spent a couple days adding acoustic treatments to the
room and it was ready to rock. Every amp in the room is plugged into its own cab and ready to play. I think we can accommodate about
fifteen guitar players at once, along with a couple bass players, keys and drums!
All in all we used ninety six sheets of ten and twelve foot lengths of sheetrock in the studio! When we have a guitar amp or a bass amp
cranked up to 110 to 115db we are at 60 to 61db outside the building so we are down a true 50db+ at all frequencies. Late night sessions
are no problem now!
Bob
Soundproofing The ET Studio


© 1998 - 2020 Eurotubes Inc. All Rights Reserved
All text and images on this website may not be used without express permission. All prices
and product information subject to change without notice.